Keeping your children's craft supplies organized saves time, and it keeps their workspace clean and creative. By organizing craft supplies with things such as markers, fabrics, or beads in labeled craft storage bins, you’ll be able to locate the right item in an instant.
Small bins, drawer organizers, or tiered shelves can help you keep your children's workspace in their area and free from cluttering the rest of the house.
Benefits of Organizing Children's Craft Supplies
Having an organized system for your children's craft supplies does more than just tidy up a corner of your home. It simply creates a space where true creativity can thrive. In this enchanted place, all frustration goes poof, and creativity becomes a true pleasure for children and moms alike.
With a little bit of organization, keeping your craft storage orderly and inviting will help keep the creative juices flowing. It empowers kids to get started on their creative pursuits without overwhelming them or making a big mess. Read on to learn more about the benefits of organizing children’s craft supplies, and how to do it.
Save Time and Reduce Stress
When craft supplies have a home and everything is easily visible and accessible, you make started and completed crafts a breeze. Each item has its own spot so it’s easy to grab a marker, glue stick, and construction paper without digging through big stacks.
An added benefit to organizing is reducing your future frustration and your child’s future frustration. Instead of losing precious creative moments looking for a lost pair of scissors, all of your time can be spent creating together. A simple routine for cleaning up after crafting will keep the mess at bay.
Even as little as a daily “five-minute clean-up” routine will go a long way to help.
Maximize Limited Storage Space
It really doesn’t need to be difficult to maximize a small space. Vertical storage solutions, such as pegboards to hang scissors, make the most of your available space. Little shelves that hold jars of buttons keep my supplies organized and what I need easily visible.
Multi-functional furniture is another clever option. A bench with secret compartments or a table with built-in drawers can serve as both décor and storage. Stackable bins are amazing for sorting supplies like beads, ribbons, or scrapbook colored paper.
Holiday-themed stickers, glitter, etc., will be easy to store when not in use. Simply slide them under the bed, or store them in clear boxes with labels in your home’s closet. Each of these tactics maximizes the use of every available bit of space to their fullest potential.
Enhance Creativity and Productivity
An orderly craft space inspires creativity and fosters a do-it-yourself attitude. Putting all of your favorite materials on display, like colorful yarns or a paint palette, helps make the space more inviting.
For example, having a crafting table set up with everything they need within arm’s reach promotes kids to begin creating on their own. A clean workspace increases concentration.
With no clutter to pull your kid’s focus, they’ll be able to accomplish all of their masterpieces in record time. Organizing supplies by type or color can inspire new ideas, such as mixing materials to create something totally different.
Assess Your Current Arts and Craft Set-Up
Before jumping into organizing, it’s important to create a clear plan. Starting with an assessment helps you understand what you have, what you need, and what you can let go of. This step sets the foundation for a more functional and clutter-free crafting space.
Take Inventory of All Supplies
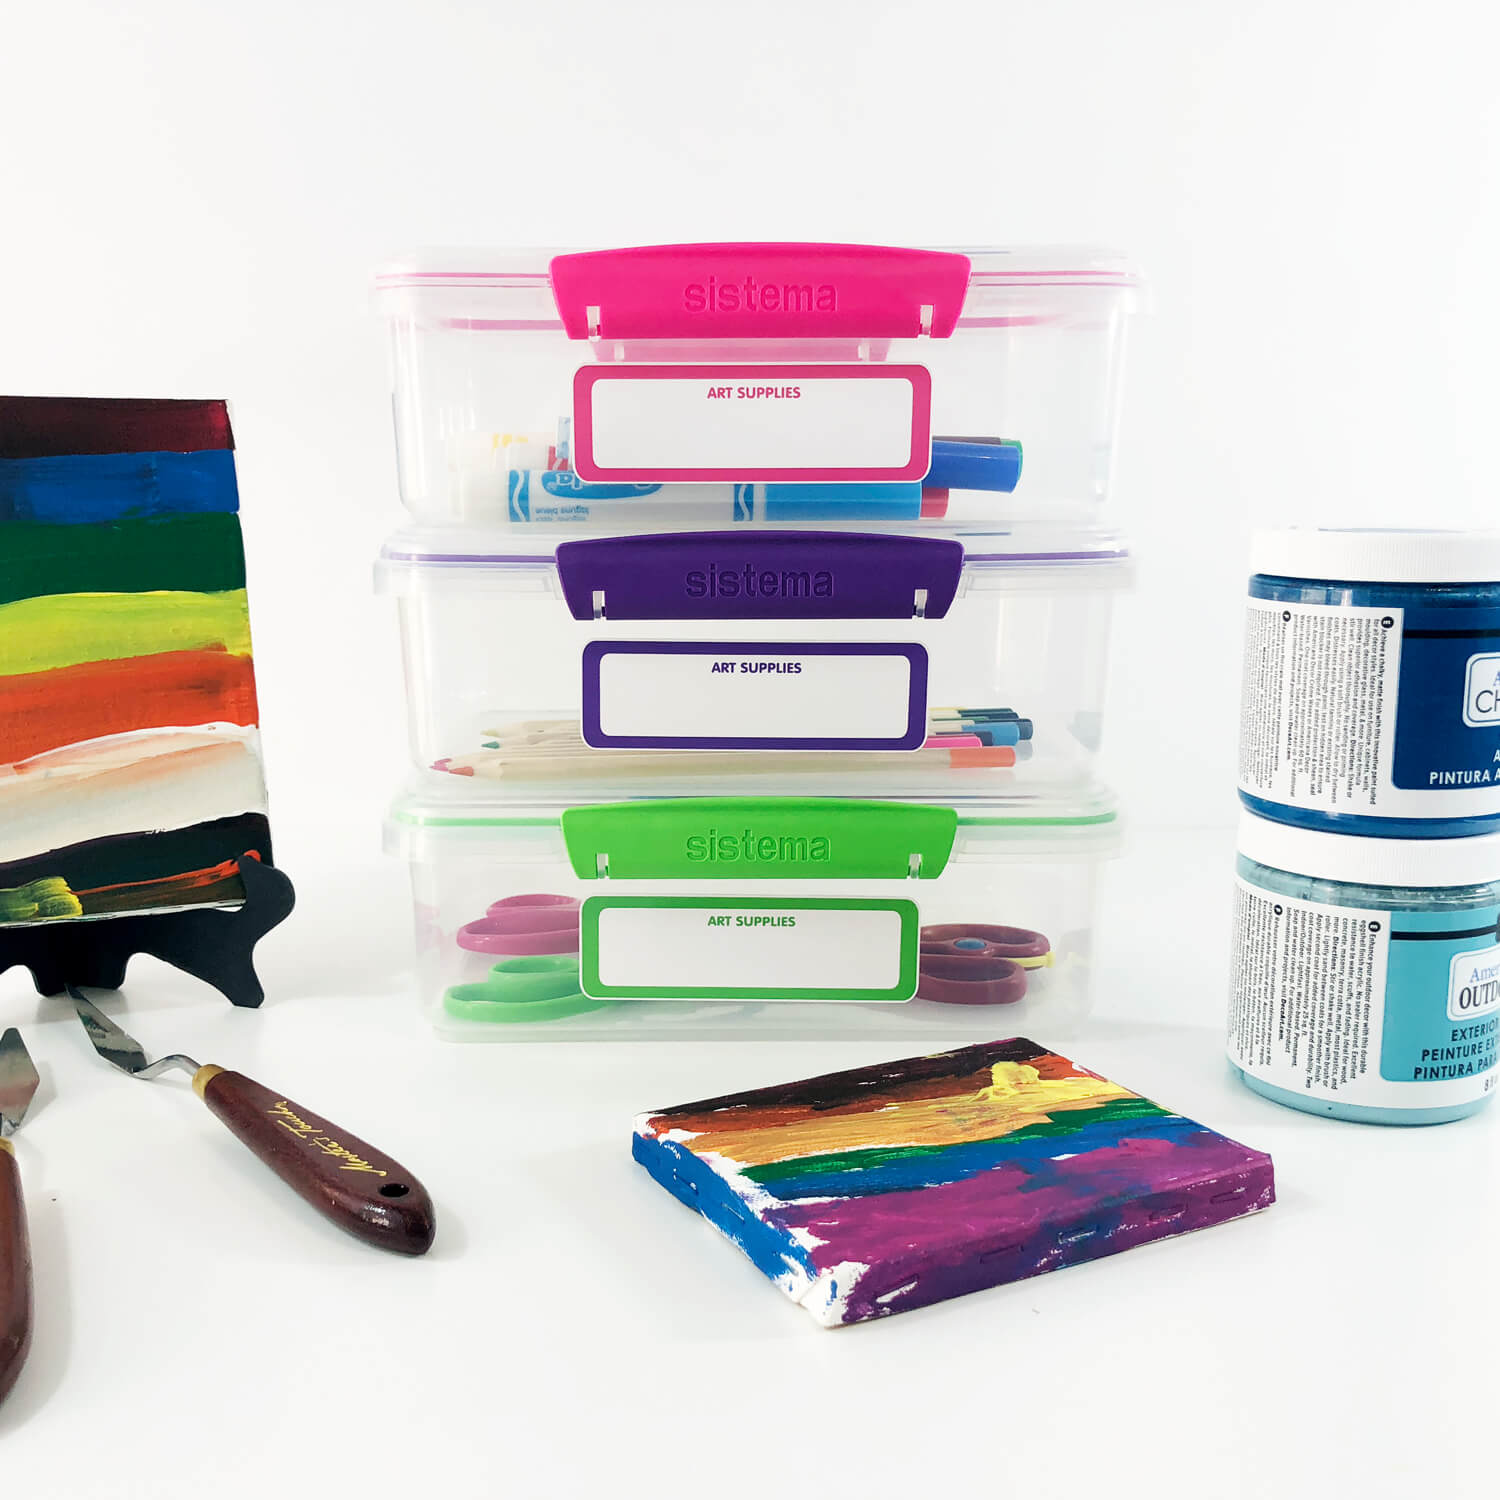
Before we get into the organization it is important to know what you will be organizing. Gather all of your children's craft supplies (yes, even the broken crayons) on a table and prepare your craft storage solution of choice. My favorite are clear plastic shoeboxes you can easily find around town. Don't forget to grab your write on labels and marker to make this process go smoothly.
MOM TIP #1: Make a list of any items you notice are missing during this stage so you can snag them on your next run to the store!

Evaluate the Condition and Usability
Once everything is in one place, check the condition of each item. Are your paints dried out? Is your glue still sticky? Supplies like paper or fabric that are torn or damaged beyond use may not be worth keeping. At this point, you can make the hard decisions about those broken crayons.
This is the time to assess unfinished projects—those UFOs (unfinished objects) and WIPs (works in progress). Decide if they’re worth completing or if it’s time to let them go.
Identify Duplicates or Excess
It’s all too easy to amass three pairs of scissors or enough glitter to last a lifetime. Finding duplicates is the first step toward reducing the clutter.
As an example, if you have multiple spools of the same color thread, put those aside to donate. Anything you don’t use often or that doesn’t work with your new craft storage goals can be stored in a basement or attic for later use when the inspiration hits!
Use Bins or Containers
Bins, jars, or baskets are a great way for you to group categories. Examples might be a standard clear plastic bin for ribbon or a deep shoebox for markers.
Using containers will help you to stay on top of your supplies and avoid things from creeping into other categories.

Label Each Category Clearly
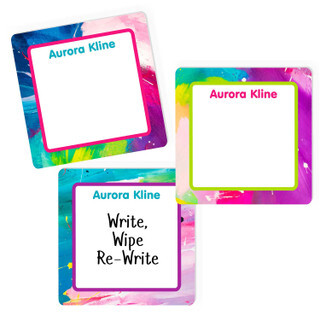
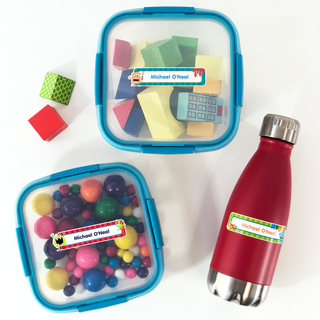
Whether you’re storing or using your craft supplies, labels are essential for fast, efficient access. Whether you label with a custom stickers or write on labels, it’s IMPORTANT to clearly label each container.
For instance, if your child enjoys seasonal projects use a bin for each season and label accordingly for easy snags.
Keep Essentials Within Reach
Keep your frequently-used supplies at your most convenient locations. Keeping a “go-to” bin on your child's desk with scissors, pens, glue, etc. will keep them from having to spend time looking for those things.
Custom Labels for Better Organization
Custom labels are one of the easiest ways to keep your craft supplies organized. Having custom labels to better organize everything turns clutter into calm, and don't we all want a little more calm?
Benefits of Using Custom Stickers
One of my favorite things about keeping our craft supplies labeled is that I have been able to foster better organizational skills in my children from a young age.
From labeling similar items with a certain color to using the labels to help them recognize words I am able to maximize the benefits without them recognizing that there is extra learning happening!
Not only do these stickers help further organize supplies by use, they help identify what’s needed quickly. Rather than digging through drawers or buckets, you’ll be able to easily identify your markers, stamps, or stencils.
A major benefit of our write-on labels are that you can use them again and again!
How to Decide On Personalized Labels
At Sticky Monkey Labels we have dozens of label themes, you'll have no problem finding a design that fits your family's vibe. We even have our simply solid name labels perfect for any color coordinating needs
MOM TIP #2: if you have multiple children let them each pick out their own design for any separate craft supply!
Try out various font styles and colors to coordinate with the rest of your craft room decor. Choose vibrant shades for children’s areas or subdued colors for a more adult ambiance! Your labels should be just an extension of that creativity.

Use Write-On Labels for Flexibility
Write-on labels are perfect for people who need to make quick, unexpected changes. Reusable items, such as writable roll labels, allow you to easily make your system work for you as your inventory expands.
So, for instance, you could call a storage bin “new fabric” this month and change the label to “holiday patterns” next year. You’ll want to use indelible markers too, so that your labels are still legible after years of frequent use.
What a custom labeling system is NOT ideal for is constantly changing or reconfiguring projects. Whether you’re introducing new supplies or giving containers a new life, durable, write-on labels ensure the transition is seamless and easy.
Use Labeling Systems for Quick Identification
Consistency is important when developing an effective labeling system. Choose labels that are easy to read at a glance and quickly identify what each item contains. Beyond keywords, color coding is another way to build visual organization.
For example, you might use red labels for tools, yellow for paper materials, and blue for paint. This visual cue makes it much easier and faster to locate the content you’re looking for.
Updating your labels quarterly or biannually is a good practice to help keep them in line with your current inventory. This is particularly useful when supplies change over time.
Keep in mind, labels are your best friend and reminder of where things go, eliminating the mess and keeping things organized.
Organizing Kids' Craft Supplies
Crafting makes children happy. As much as we love our crafty kids, maintaining some semblance of order to their supplies is key to an overall happy and productive home. Create a special place to encourage imagination. By using real life storage solutions and including the children in the process, you can develop a storage system that keeps the clutter to a minimum. So let’s take a closer look at what’s included.
Set Up a Dedicated Kids' Craft Area
Creating a space specifically for crafting gives kids a sense of ownership and a place to let their creativity flow. Make a designated space for your crafting, maybe a craft corner in the living room or a separate craft table. This will definitely ensure your craft supplies stay organized and contained.
Include colorful storage bins or imaginative organizers that excite kids, such as rainbow-colored drawers or stackable animal-shaped boxes. These not only make the space more inviting but make it more fun, enticing kids to jump in and enjoy them.
Ensure the space is clear of choking hazards or sharp implements, particularly for small children. Having appropriate tools—such as washable markers or blunt-edged scissors—ensures the space is a safe and fun environment.
Fill the space with kid-friendly supplies including paper and crayons. Consider adding some unique touches with beads or stickers for a little extra flair. This means that kids can have everything they need to explore their imagination without feeling constrained.
Use Lightweight and Portable Storage Options
Storage solutions that kids can easily use themselves are a total game changer. Lightweight bins, baskets with handles, and craft supply caddies make it easy for kids to scoop up their supplies. Then, they can easily tote it all to their crafting area!
Mobile storage carts are another fantastic option, letting supplies move between classrooms while helping you keep everything organized and tidy. Clear plastic containers are great for organizing kids’ craft supplies and ensuring children can quickly access the things they need.
Plus, younger kids who aren’t reading yet can still find things with the clear containers. This hidden feature keeps them from getting overwhelmed and wanting to dump it all out. Then to stay organized, feel free to group supplies under general categories such as “drawing tools”, “paint”, or “stickers”.
Showing kids how to return items to their designated spots teaches them responsibility and keeps the system running smoothly.
Encouraging Kids to Organize Their Supplies
Plus, when kids are involved in the organizing process, they’re more likely to respect and take care of the organizing system. Start out by getting them to do small things. Allow them to group supplies and assist in determining what items to keep, donate, or throw away.
Fun fact: studies show about 60% of kids' craft supplies are often unused or unnecessary. Getting rid of extras not only clears visual clutter, but it makes the area more manageable overall.
Whether that means slowing it down or breaking it into smaller steps, think about what might help. For example, one of those supplies—markers, say—then you can move on to organizing paper or paint.
Be sure to acknowledge these little wins through the process to help keep kids feeling excited and inspired! This method promotes independence and lessens fighting among siblings too, because each child starts learning to be responsible for their supplies.

